
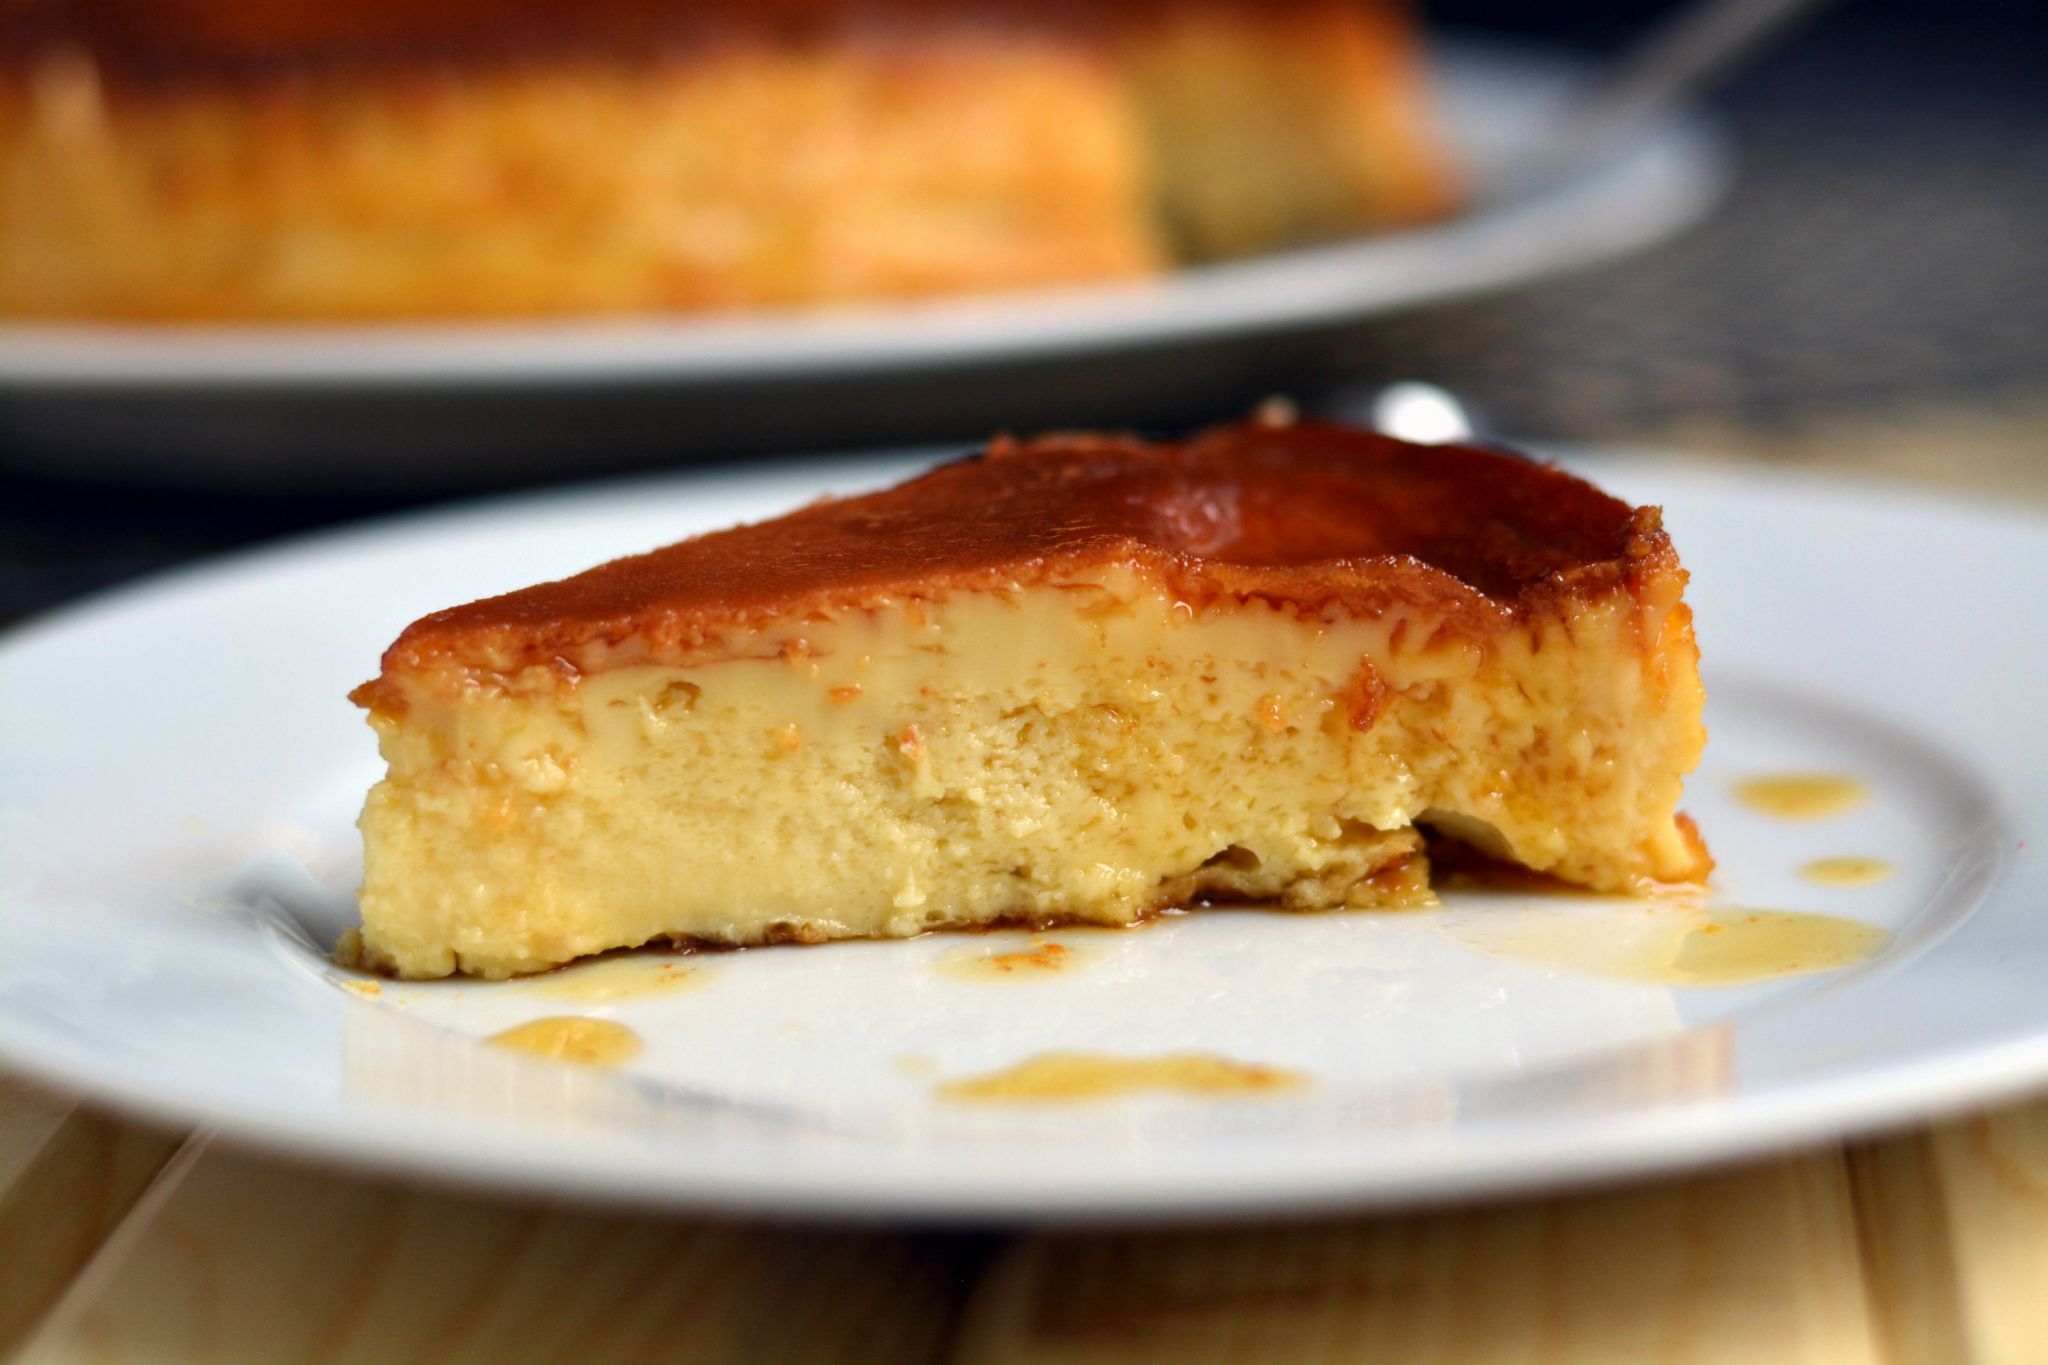
Easy Dulce de Leche Recipe
Ever since I posted this recipe for how to make arequipe or dulce de leche from scratch I keep getting requests on how to make it with a can of sweetened condensed milk. If you’re not aware, cooking a can of condensed milk in boiling water for hours will brown the sugar and give you a caramel color. And that’s how most people end up making it at home.

I posted the other recipe almost five years ago thinking that most people wanted to make it from scratch, learn about the process, keep an eye on it while it cooked slowly in the pot and get something that was 100% natural. But boy, was I wrong! Most people just want to make it the other way, which in all honesty, is way easier.
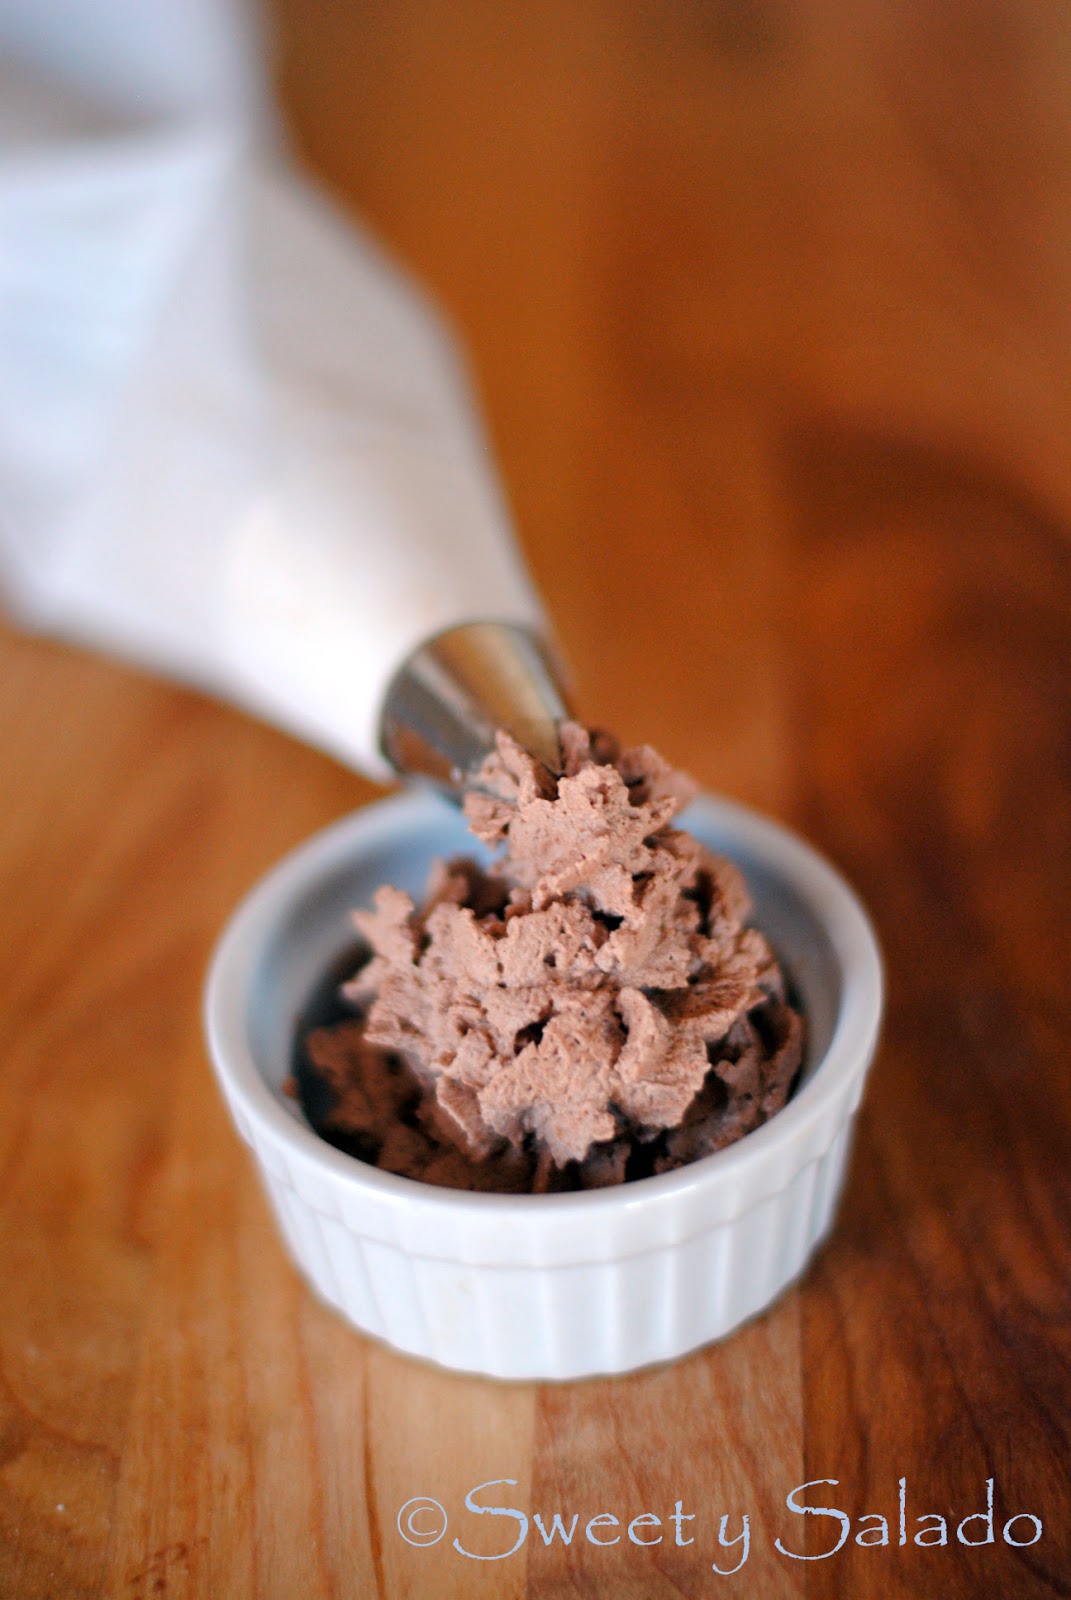
Not only is it easier, but it also gives you a much smoother texture. When you make it from scratch it tends to thicken quite a bit and if you’re not careful, the sugar can easily turn into hard crystals and that’s why it can be incredibly frustrating for some. Not with condensed milk. And because you get that beautiful smooth texture, it is a lot easier to use for decorating and as a filling.

I personally like both versions of arequipe. They both taste wonderful and I can eat a whole bowl of it in one sitting if no one is watching.
¡Buen provecho!

Arequipe (Dulce de Leche) English V2
Ingredients
- 1 14 oz can sweetened condensed milk
- Water (for boiling)
Instructions
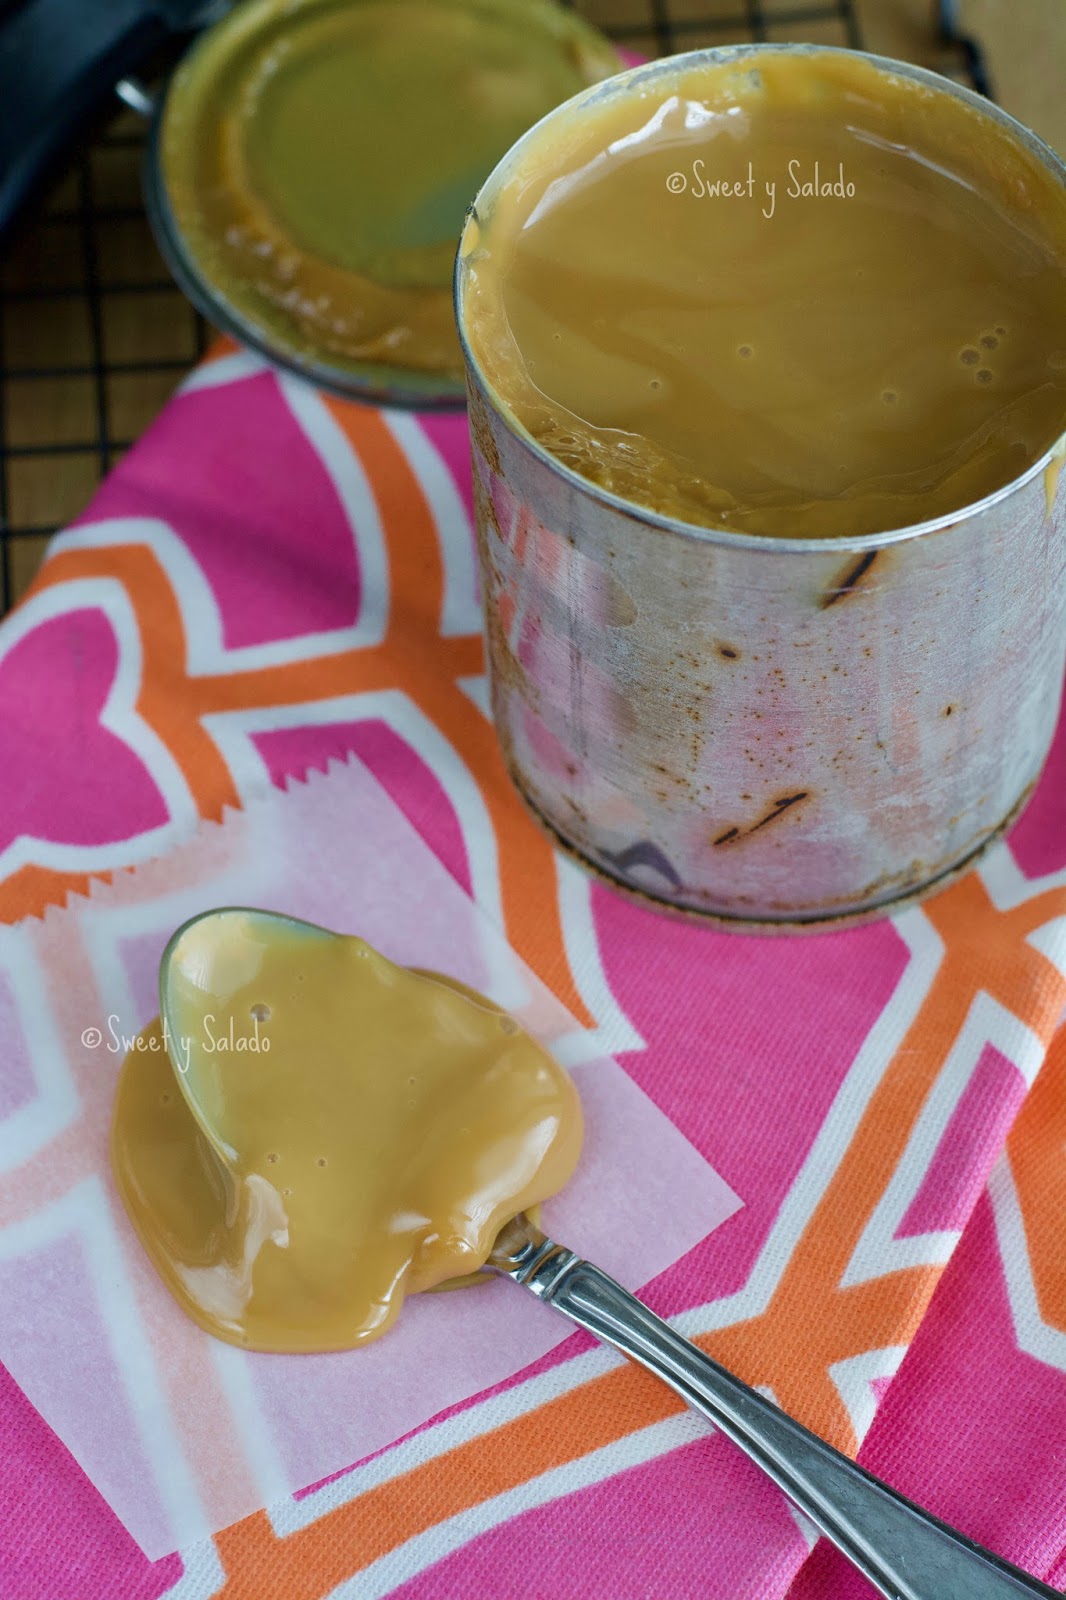
- Take off the label of the can of condensed milk. Place it sideways in a large pot and cover it completely with water. Cover the pot and bring it to a boil over high heat. Once it is boiling reduce the heat to a slow simmer and cook for about 3-4 hours. The longer you leave it cooking, the darker the color that you will get. Make sure the can is completely covered with water during the entire time, so check the water level every 30 minutes and refill with more boiling water when needed.
- Carefully remove the can from the hot water (I use a pair of tongs) and let it cool completely on a wire rack. Preferably overnight.
- Once it's cool you can open it and enjoy immediately. You can also transfer it to an airtight container and store it in the fridge for up to one month. Store unopened cans of arequipe for up to three months.

This is amazing and i would like to point out that the only time it is bad to heat food in a can is if it has already been opened…once the air hits the food inside the can you can no longer store or heat it…you will have to transfer to another container but as long as the can remains sealed during the entire heating and or storing process you will be just fine and WOW is it delicious!!!! Thanks so much!
Diana, gracias! This is how my Colombian Mom made Arequipe. I’ve been making it this way until I got married as my Arab husband freaked out on me boiling a can! I’ll make it again this way. I also want to profusely thank you for the video/recipe you made for the ‘from scratch’ version! I want to try that! Mil gracias!
Love, love, love, love this comment. Thank you so much for taking the time to share. ❤️
This recipe has nothing to do with Arequipe, it is dulce de leche and I do not think using the cab is wise! You might as well just buy de dulce de leche can this recipe is unhealthy and unnecessary…
Store bought dulce de leche or arequipe (yep, it’s the same thing) is not easily found in every part of the world which is the reason I made this video. I also made this version which doesn’t use a can of sweetened condensed milk: https://sweetysalado.com/2013/05/arequipe-dulce-de-leche-english.html