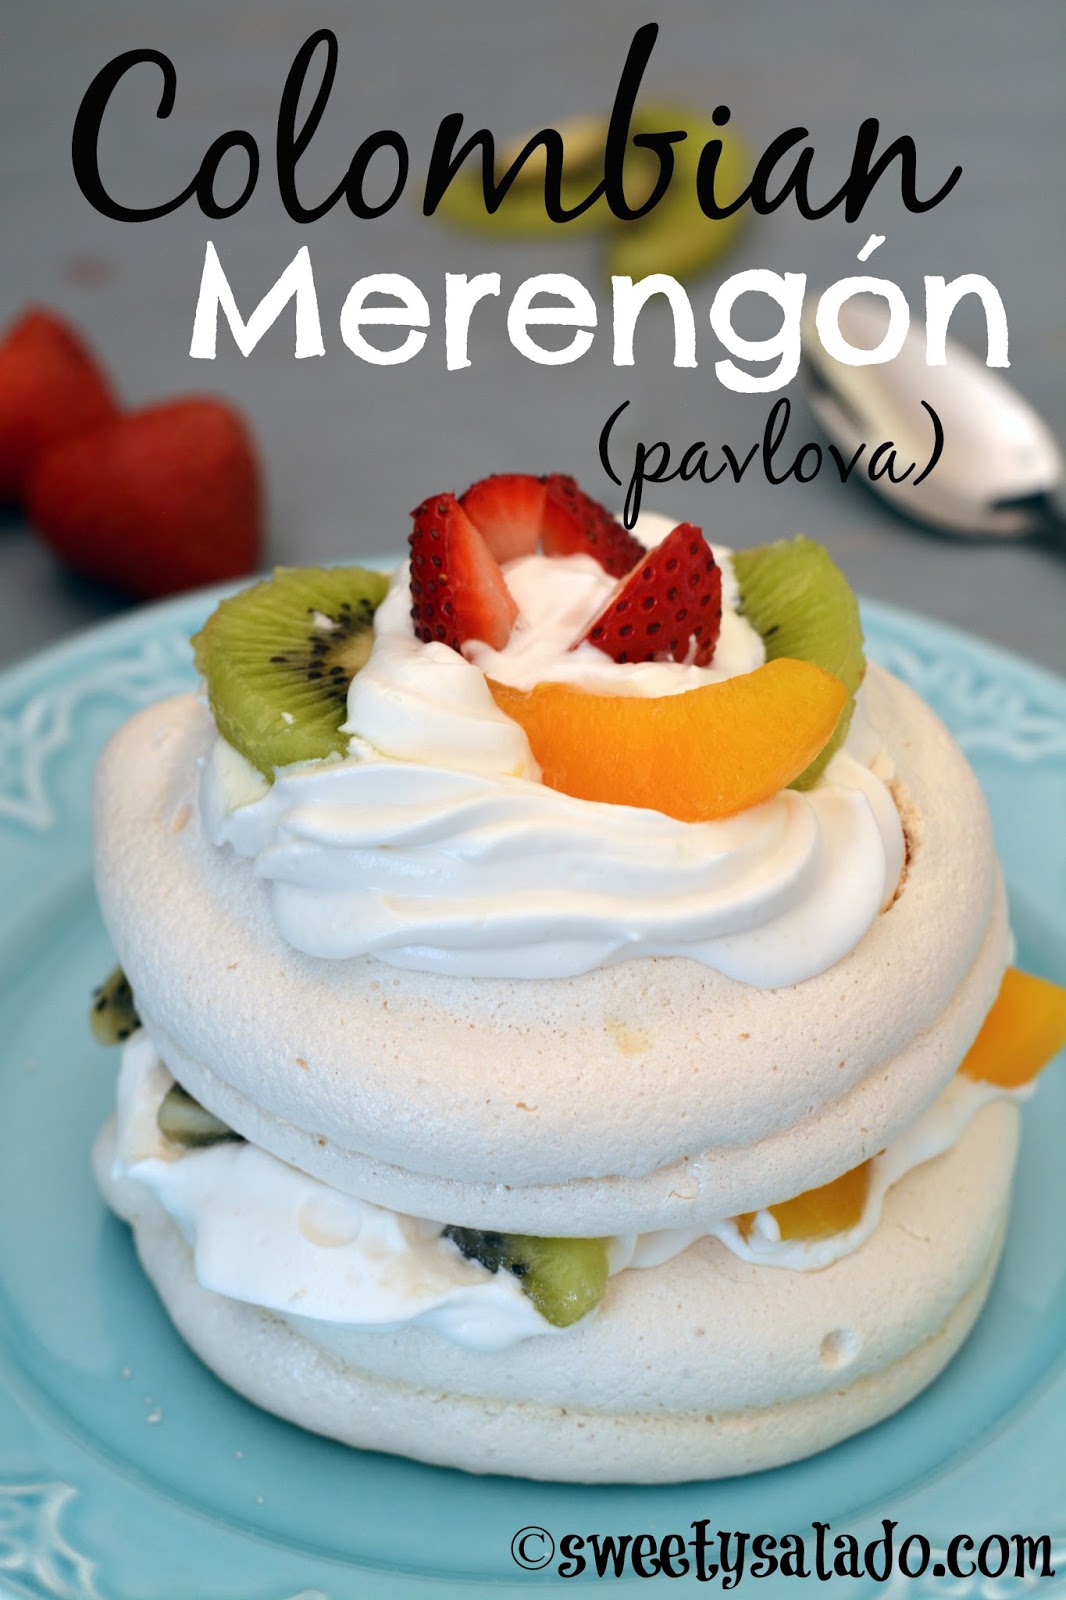
Colombian Merengón (Pavlova)
Last week I told you about the first day I made meringue cookies at home when I was a kid. Today, I will tell you about the first day I saw and tasted the famous Colombian merengón. That was back in 2007 when I was visiting Bogotá and my husband took me to visit one of his aunts who lives and owns a sweet shop in the small town of Cota, Cundinamarca. As soon as we arrived she immediately started making him a merengón because it’s one of his favorite desserts and for obvious reasons, because it’s delicious.
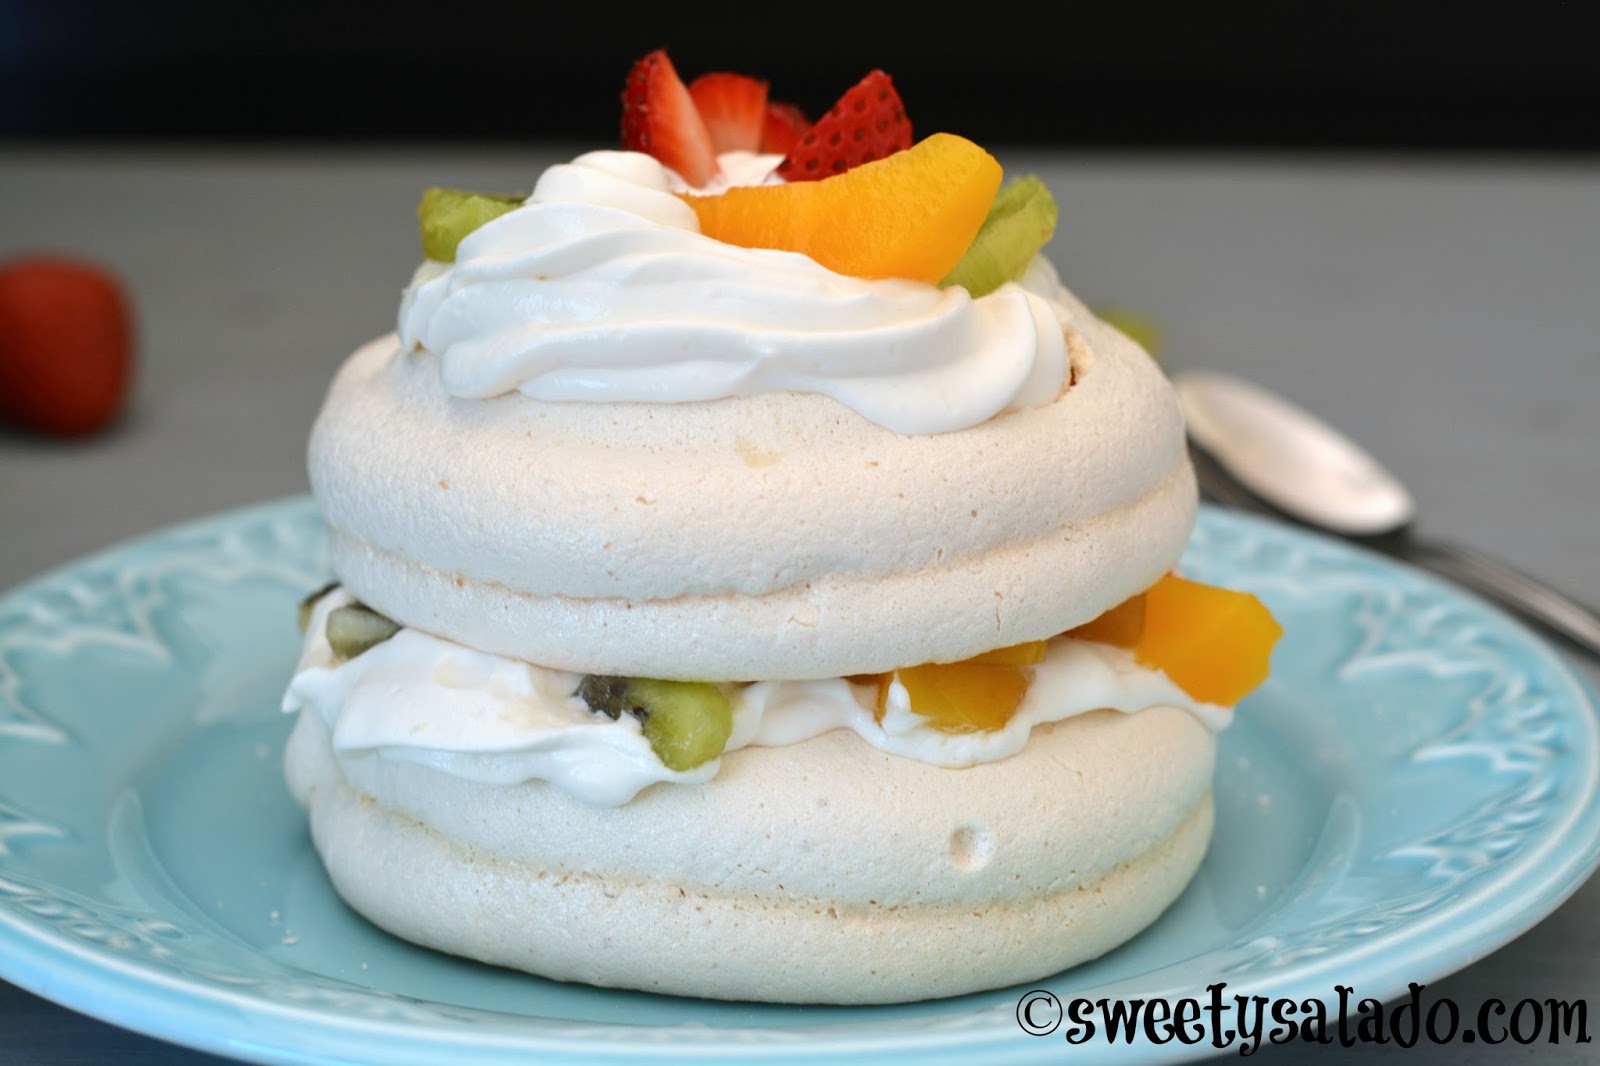
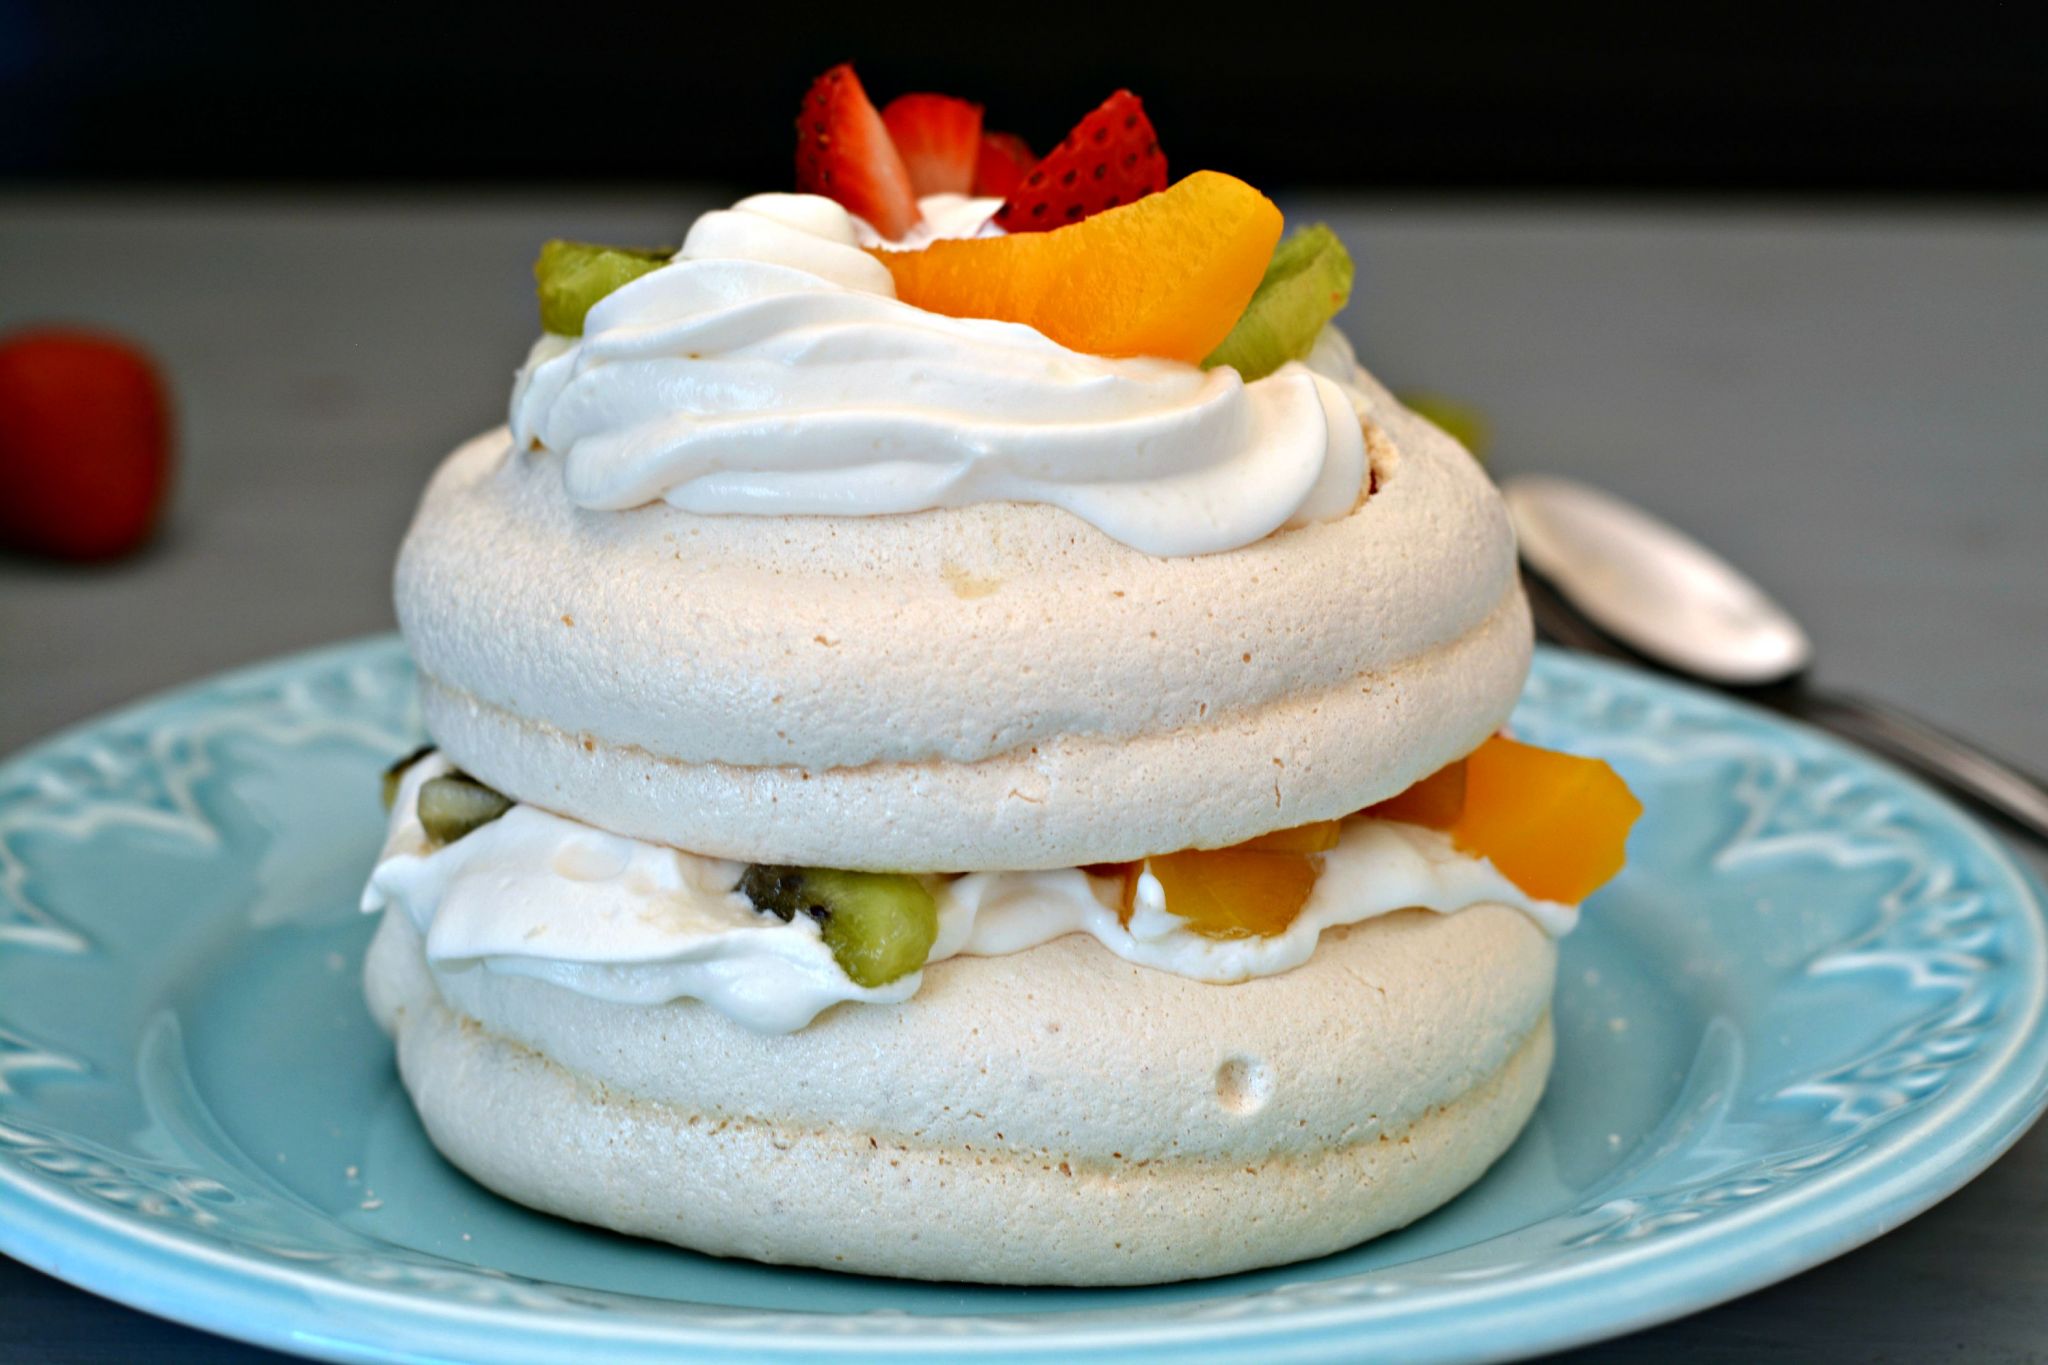
The merengón is not really a Colombian dessert because it truly is a pavlova, a dessert that was created in either Australia or New Zealand, but it’s so popular, that many people in Colombia really believe it’s Colombian. In many homes they make it in two big layers which they later divide into portions before serving. However, in many sweet shops or bakeries, they make them into individual portions and serve them with all kinds of fruit like soursop, blackberries, strawberries, peaches, mango, whatever they have on hand.
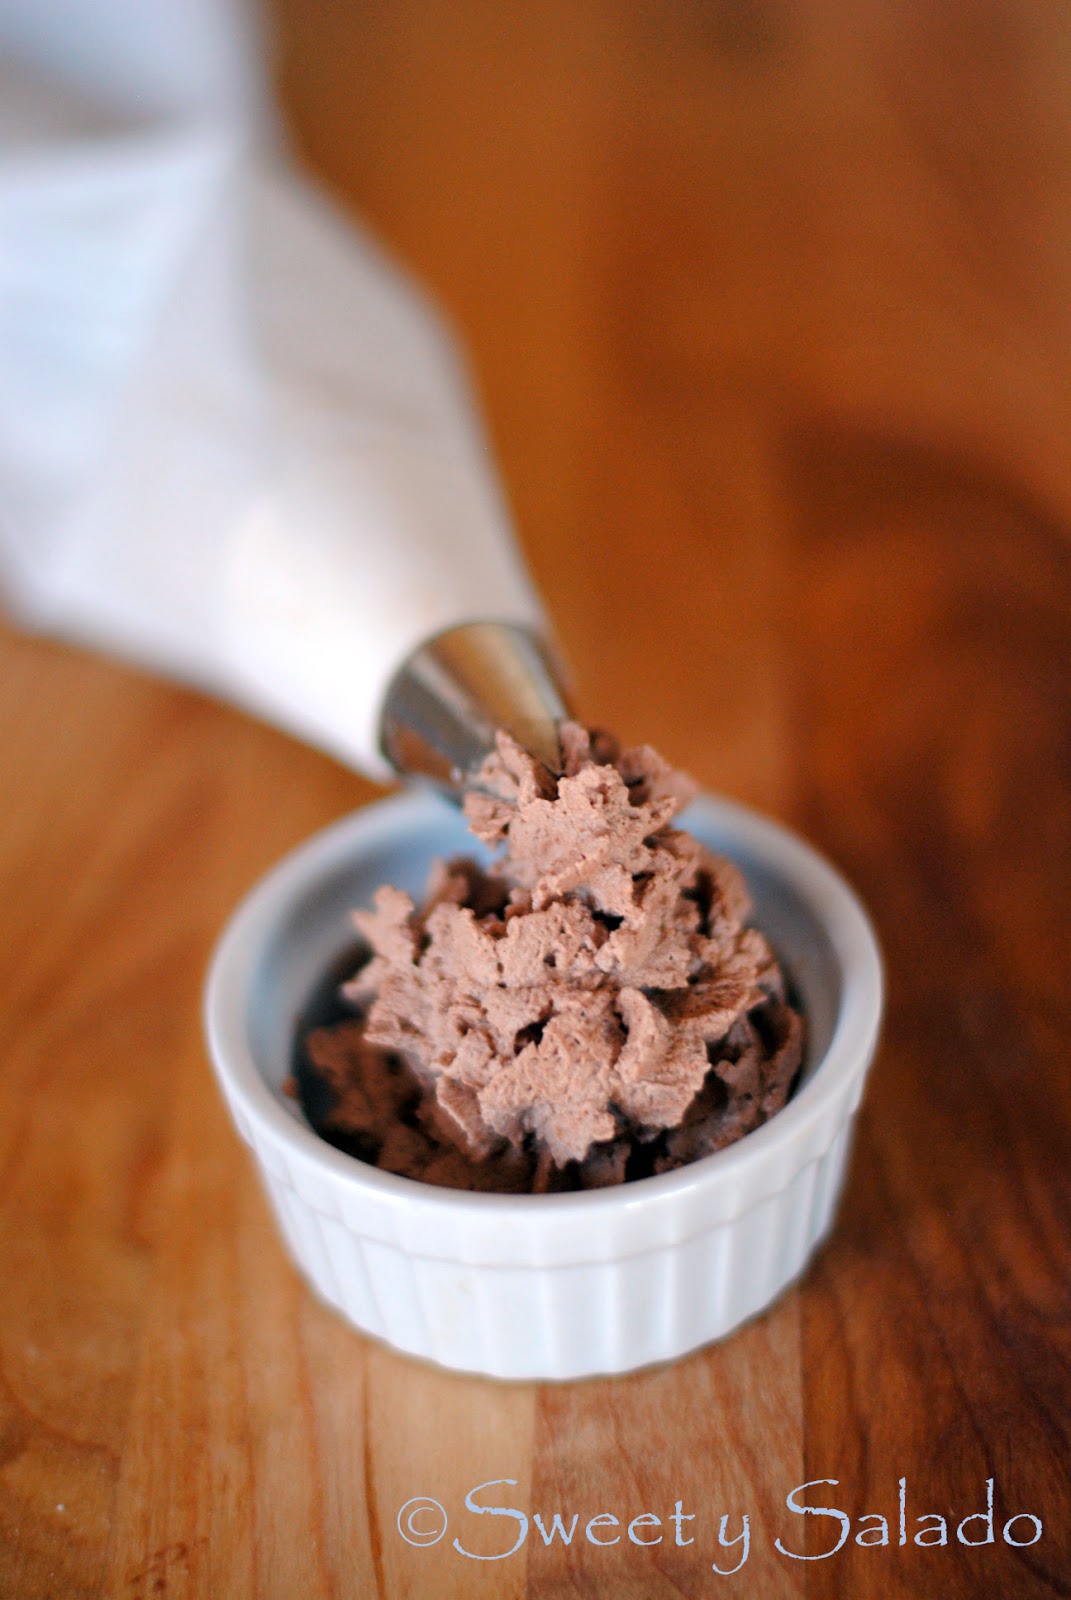
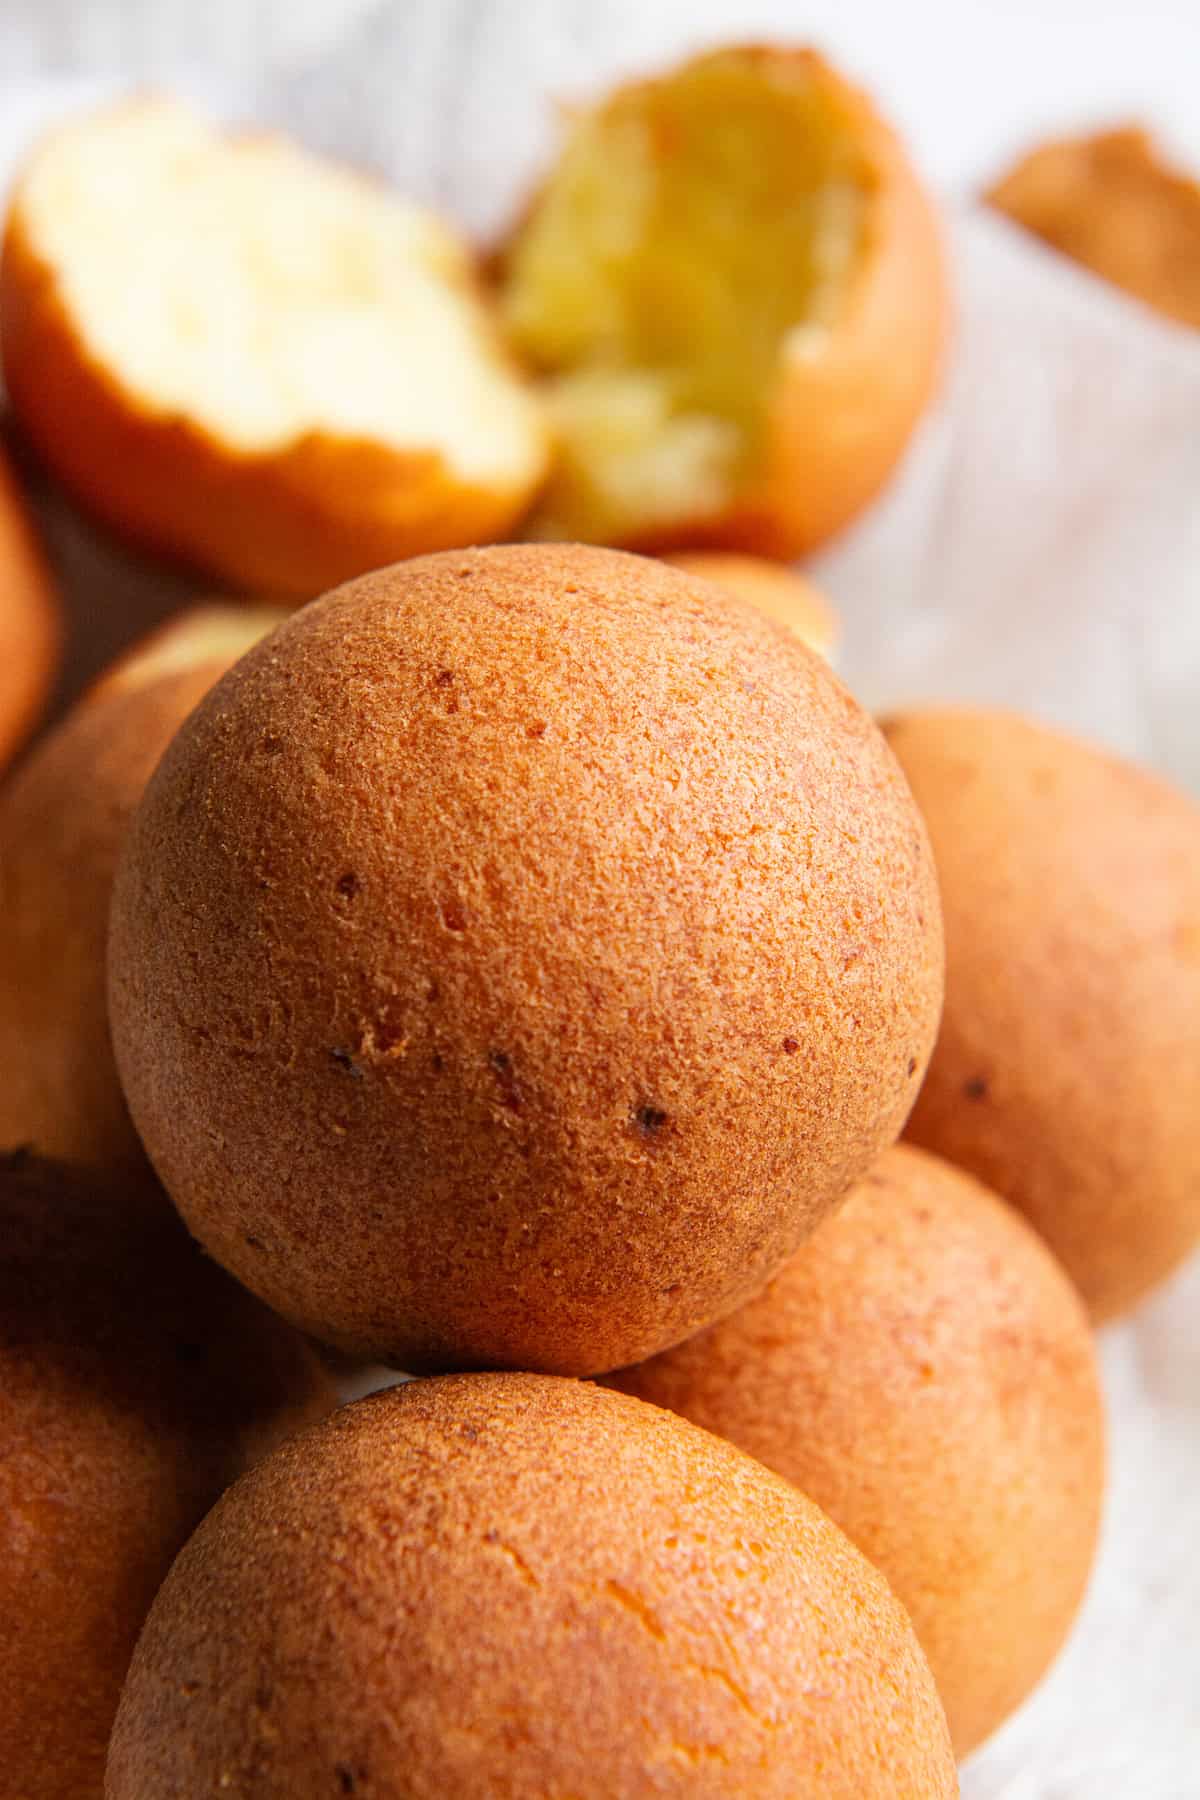
Since the merengón has to be crumbled on top to add the whipped cream and fruit, the key is to shape them with a pastry bag so you can leave an air pocket in the center, that way it won’t come out as dense on the inside. So, that’s a tip to keep in mind when making them.
¡Buen provecho!
Colombian Merengón (Pavlova)
Ingredients
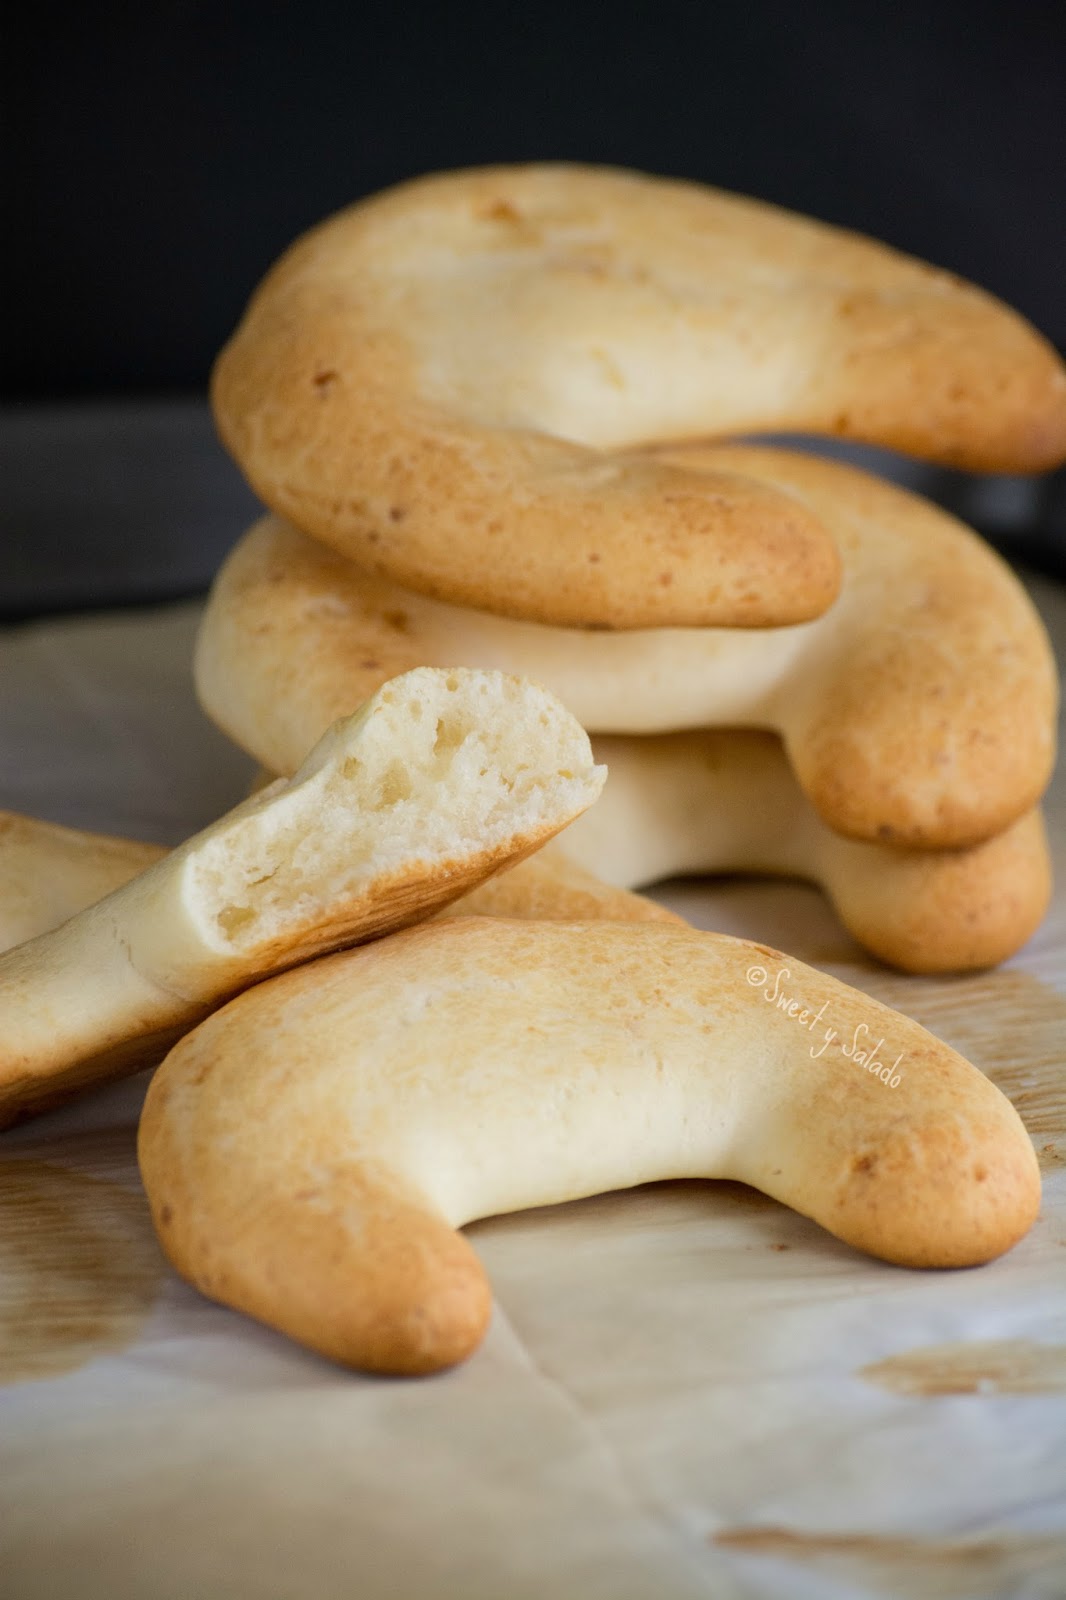
- 1 meringue cookie recipe
- 3 cups whipped cream
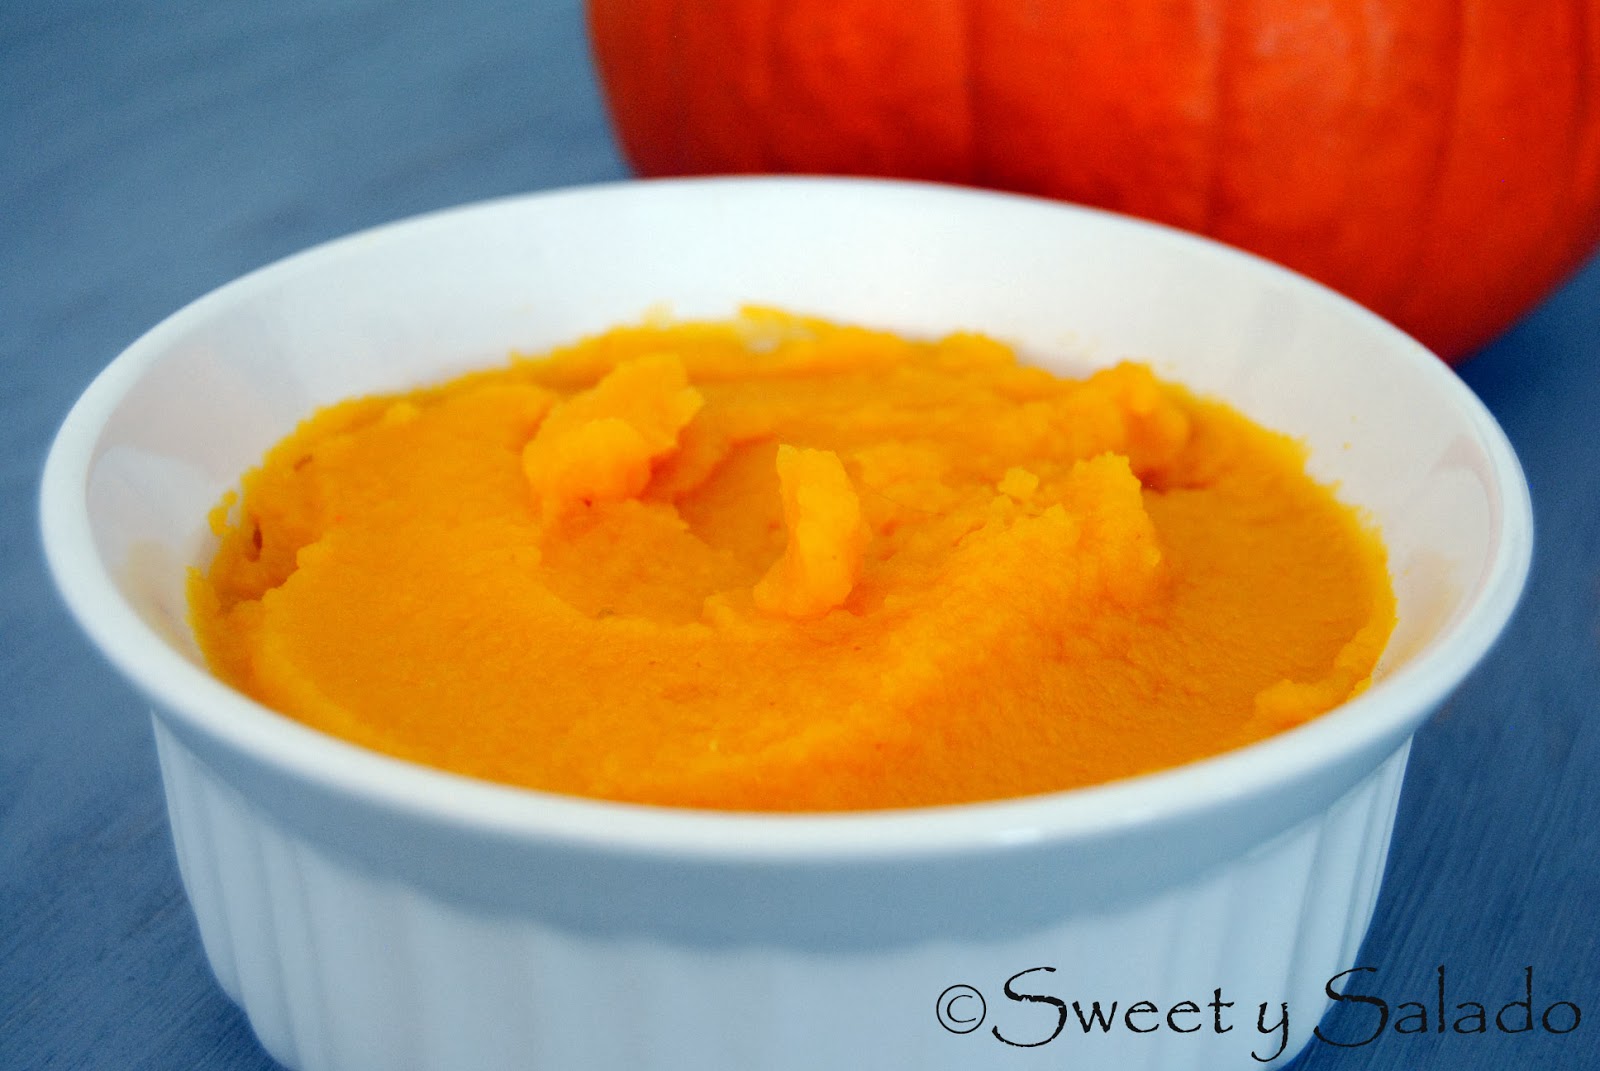
- 3 cups fruit of your choice (strawberries, kiwis, peaches, mangos, soursop, etc.)
Instructions
- Preheat oven at 250ºF (120ºC).
- Cover a baking sheet with parchment paper and draw medium sized circles (2-3 inches, aprox. 5-7.5 cm in diameter) on the parchment paper with the help of a cup or small bowl. Turn the parchment paper over so the circles are on the underside.
- Prepare the meringue mixture according to the recipe and fill a pastry bag with the tip of your choice (ex.: Wilton 1M star tip) with this mixture. Place a small amount of the meringue on the underside of each corner of the parchment paper to anchor it to the cookie sheet. Shape the meringues by filling out each drawn circle with the mixture giving them a cupcake like shape.
- Bake for 1½ hour. Then, turn off your oven and leave the door cracked open for a few hours to let the meringues dry and cool down. (If you want completely crispy meringues, let them dry inside the oven without opening the door).
- Once they are cool, crumble the top of one of the meringues, fill it with whipped cream and place the fruit of your choice on top. If you want to make a two layer merengón, place another meringue on top of the decorated one, crumble it on top as well, fill it with whipped cream and finish it off with more fruit.