
Colombian Chicharron (Fried Pork Belly)
As a good “paisa”, Colombian fried pork belly or “chicharrón” was one of my dad’s favorite things to eat. He loved it so much that he didn’t care if it was crunchy or chewy, as long as it came fried and was served with a portion of Colombian beans, rice and arepa. I, however, am more demanding and only like it if it’s meaty and the skin is as crunchy as possible.
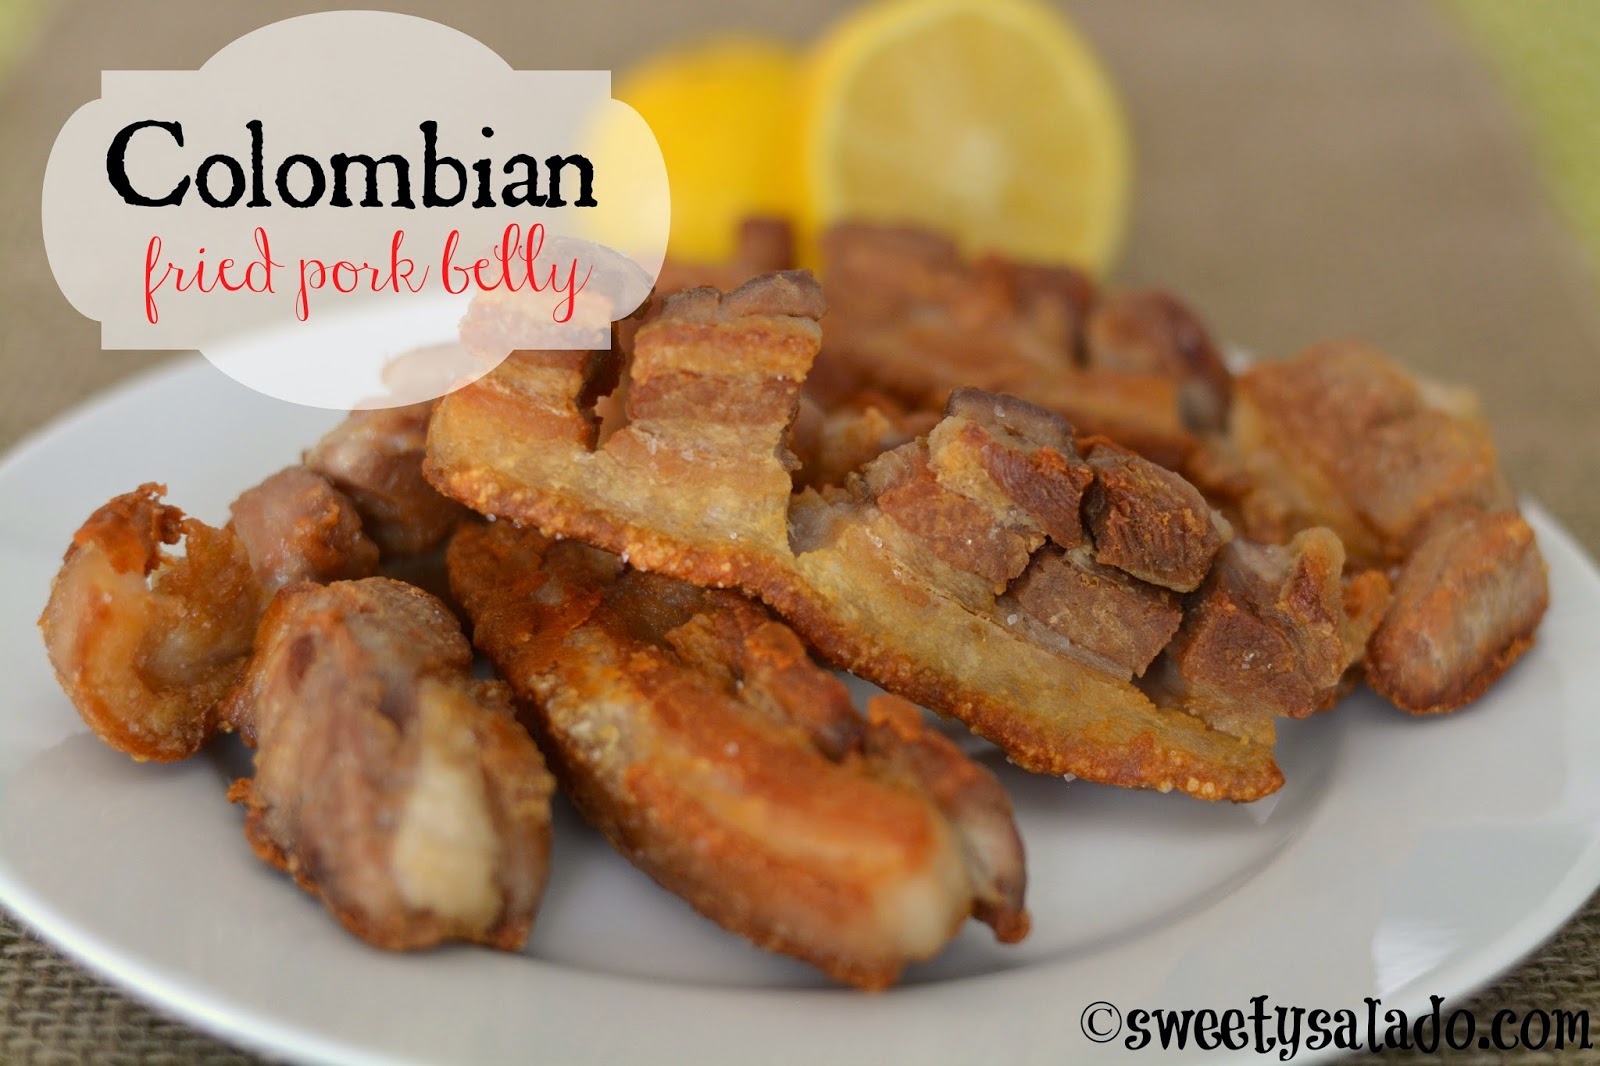
People in Colombia eat so much chicharrón that it is served at any time of day, for breakfast in the morning with an arepa and hot chocolate, or for lunch and dinner as a side dish. Some people like to deep fry it to cook it faster but I really don’t like making it this way because it ends up with more grease than it already has and the meat ends up shrinking, leaving you mostly with the pork belly fat.
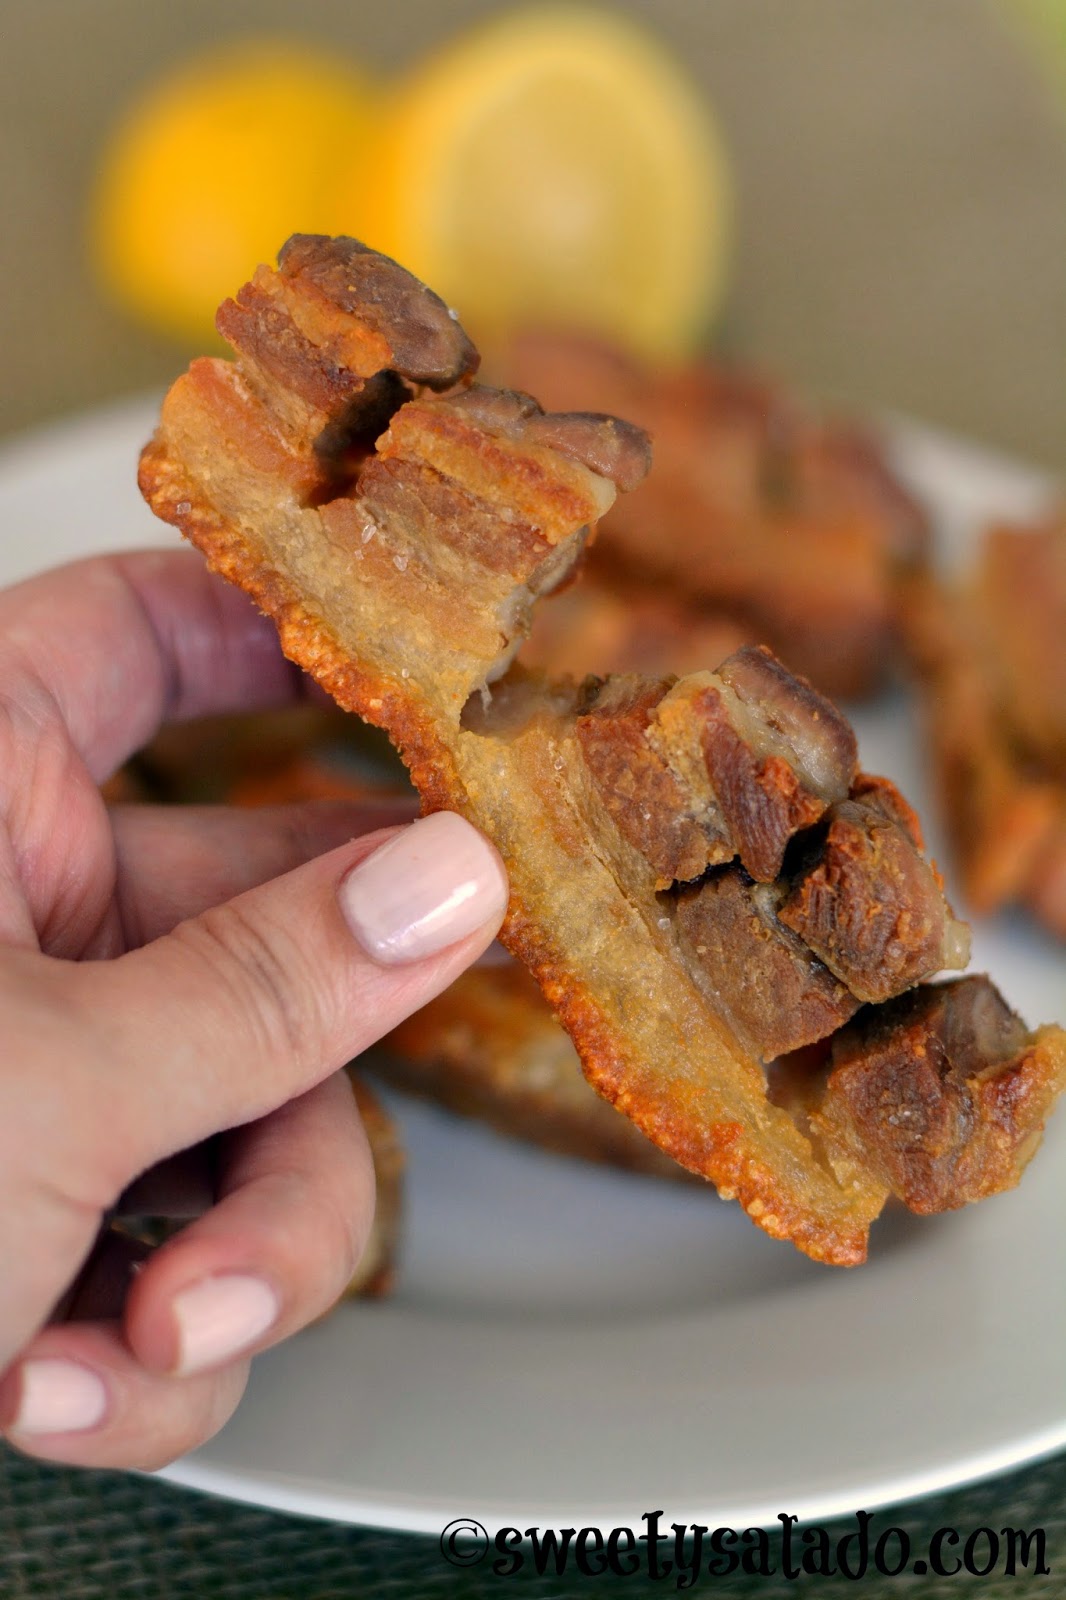
The technique we’re going to be using for this recipe is really simple and we’ll be using baking soda to make sure it comes out crunchy. Like I say in the video, some people rub it only on the skin, then they rinse it completely before cooking. However, I personally like to rub it all over the pork belly, skin and meat, and I also don’t rinse it before cooking because I have noticed that this helps it come out really crunchy. So, I invite you to try both ways to see if you notice any difference.
¡Buen provecho!

Colombian Fried Pork Belly
- Prep Time: 0 hours
- Cook Time: 0 hours
- Total Time: 0 hours
- Yield: 1½ pound 1x
- Category: Appetizers, Breakfast, Pork, Side Dish
- Cuisine: Colombian
Ingredients
- 1½ lb pork belly cut into about 1 inch (2.54 cm) wide strips
- ½–1 tsp baking soda (It should be done with a measuring teaspoon)
- 2 cups (480 ml) water (More if needed)
- Salt to taste
Instructions
- Rinse and pat dry the pork belly strips. Rub the skin and/or meat with the baking soda. Place in a medium container, cover and refrigerate for at least 1 hour. Then, if you prefer, you can rinse it and pat dry it.
- Divide the pork belly into desired portions. Then, make the “legs” or “teeth” by making ½ inch (1.27 cm) incisions with a sharp knife. Make sure to stop right before you cut the fat and skin.
- Fill a shallow pan (preferably non-stick) with enough water to cover the pork belly. Season with a little bit salt, add the meat, cover and bring to a boil on high heat. Once it’s boiling, reduce heat to medium low and cook until the water evaporates. About 1½ hour.
- Once the water evaporates, raise the heat to medium and cook pork belly in its own rendered grease until they’re golden brown on all sides. About 15-20 minutes. **The grease will start popping, so be careful not to burn yourself!
- Remove the pork belly pieces from the pan. Drain on paper towels and season with salt to taste before serving.
Notes
Try to get pork belly that has a good amount of fat, this will prevent it from sticking to the pan. I also recommend making them in a non-stick pan.


Do you leave the lid on or off to evaporate the water?
I leave the lid off so the water can evaporate faster.
I made this today and followed your recipe to a “T” up until the evaporating stage. Tat is when I went back to read the replies and responses.
If you leave the lid off when you make this, then you should post that in your recipe and not just in a response.
I had SO much water that it took forever to evaporate and then the meat was sticking to my non-stick pan as well as falling part.
My only salvage was that I gently removed as much of the meat as I could and put them in the oven at 400 degrees on a sheet pan and cooling racks.
That tends to happen when the pork belly has more lean meat than fat, which tends to be the case in the pork belly that you find in regular grocery stores. If the pork belly does not have enough fat to render, then you pretty much end up cooking lean pork meat, which will stick to most pans.
I put baking powder on my chicken to make it crunchy… just double checking if it's baking soda or baking powder? Thanks!
Hi Natasha, it's baking soda what you will need to make this recipe.
Hi, do put baking all over the the pork belly meat and skin?
I tried a similar recipe and I can admit I burnt them in the frying process but they really tasted baking soda and it was not edible. I am wondering if the rinsing could be better to get rid of the taste of baking soda. Any suggestions?
½ tsp of baking soda for 1½ lb of pork belly is really not that much but you can rinse it if you want. Also, make sure you are using pork belly with plenty of fat so that it can render it while cooking. If the pork belly you're using is mostly meat, it won't render enough fat to cook itself in.
Where does the sweet flavor come from?
These are not sweet but savory. I wonder if you got a flavored piece of pork belly.
I followed this recipe but made 2 lbs instead of 1.5. My technique varied in that I cut the slices into thinner strips, length-wise, and also into thinner “legs”, as my husband prefers. I also had to divide the chicharron into two pans because of the quantity. I’ll admit that they were probably still more crowded than they should have been. After about and hour and a half and flipping and rearranging, just when the fat rendered and the pork was in the popping phase, I went to check on them and they were stuck like glue to the bottom of the pans and I destroyed all but a few strips in the process of getting them unstuck. I’m a great cook and I aced your frijoles Colombianos and carne en polvo, but the chicharron was a failure, in my opinion. Do you have any suggestions or tips for me? By the way, I LOVE your channel and blog so much. Your recipes are the ones that I trust when searching for Colombian classics.
Hi Caroline! Thank you so much for trying out the recipe. Pork belly tends to stick to the pan if it has more meat than grease, for obvious reasons. Try to get pork belly that has more fat and if not, then try to use a non stick pan.
Ive done it twice: once without rinsing the BS and once with. Definitely better rinsed! Also, my belly didn’t render enough fat to deep fry the chunks, so I had to add a fair amount of oil to make that happen. They came out VERY good!
This came out perfect! The meat was tender yet crispy/crunchy. Will definitely be making as per this recipe again. One very happy husband!
I kept the lid off during the evaporating process and it took around 1hr 40 for the liquid to evaporate on medium/low electric stove and then to start then frying in its own juices. I just turned at regular intervals to avoid it completely sticking as you do get a lot of fat from this meat.
recipe is a failure. wash the baking soda or food will taste nasty. also put up on top remove cover once boil and lowering heat. tha ks.
If you used the correct amounts, it should not have been a failure.